
Using Token2 programmable hardware tokens for Rublon
 Rublon MFA is a multi-factor authentication (MFA) solution designed to protect your organization’s data and secure access to networks, servers, and applications. It supports MFA for cloud apps, VPNs, servers, and Microsoft technologies using various authentication methods, including Mobile Push, SMS Passcode, Third-Party Authenticators, WebAuthn/U2F Security Keys, and more.
Rublon MFA is user-friendly, affordable, and scalable, helping to reduce compliance risks, enhance user experience, and lower costs. It is compatible with a wide range of technologies, including but not limited to VPNs, Windows Logon, Remote Desktop Services (RDS), Outlook Web App (OWA), LDAP, RADIUS, and WordPress.
In this guide, we will outline the steps to configure Token2 programmable tokens for the 'Third-Party Authenticator' method. A programmable token serves as a drop-in replacement for TOTP authentication apps like Google Authenticator in two-step verification.
Requirements:
• An admin access to the Rublon admin console.• An application of the 'Windows Logon & RDP' type has been deployed.
• Any of the Token2 TOTP programmable tokens.
• An app for provisioning the programmable tokens (NFC burner or USB Config tool, depending on the model). The list of compatible apps is available here.
Step1. Enable an MFA method
1. Log in to the Rublon admin console at https://admin.rublon.net/auth/login.2. After entering your email address and password, you will be redirected to the MFA page
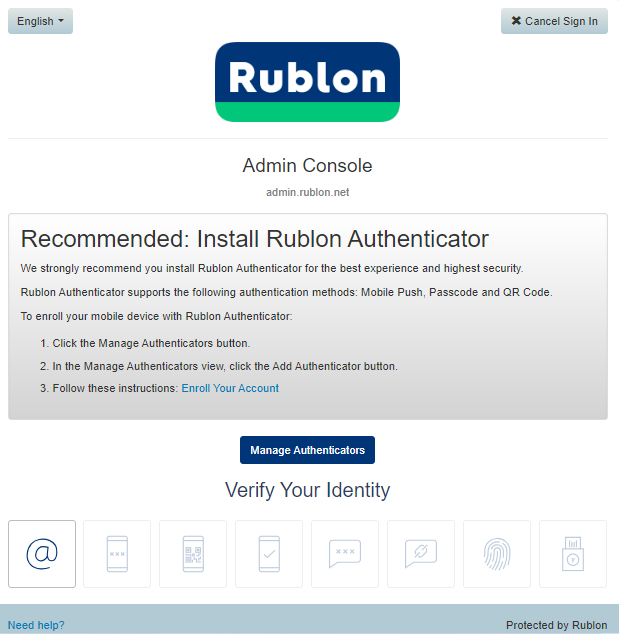
3. By default, only one authentication method is available : Email link.
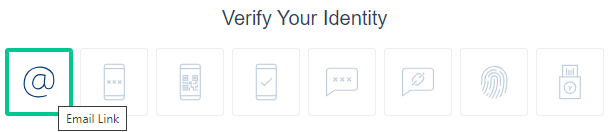
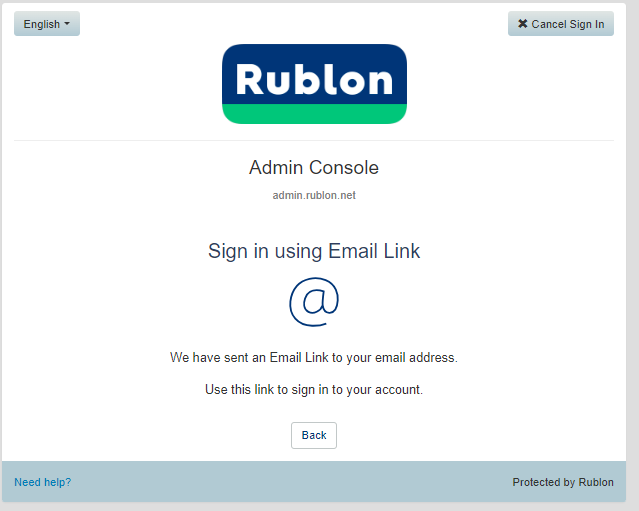
When you use this method, Rublon sends a sign-in link to your email address that you need to click. This method allows you to log in or add a new authentication method.
4. We will add a new authentication method by clicking the 'Manage Authenticators' button. Then, you will use the email link method to send a link to your email and approve it by clicking 'Sign in.'
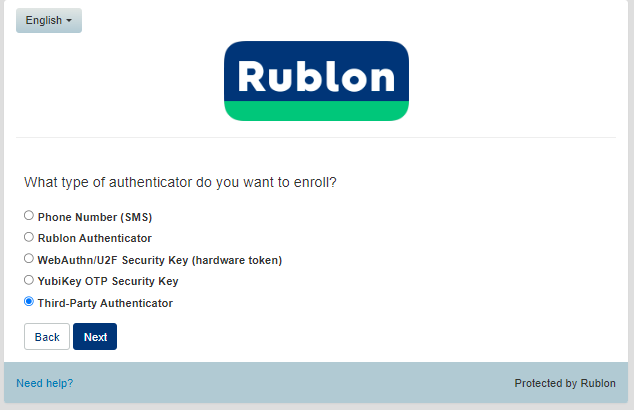
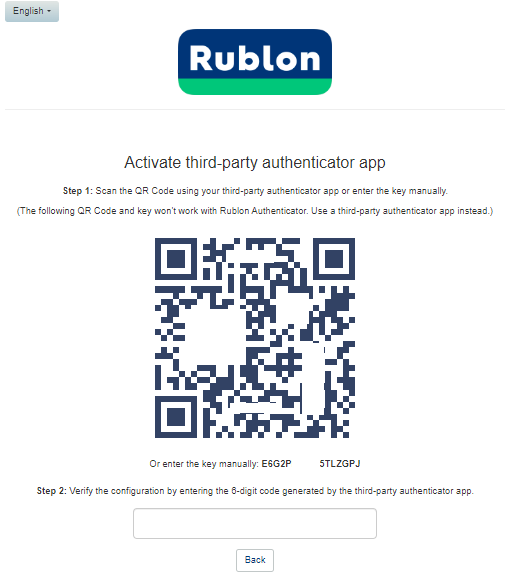
5. Rublon will provide different authentication methods. We will select 'Third-Party Authenticator' and click 'Next.'
6. A QR code will be displayed in the browser that you will scan using one of the provisioning tools in the next step.
Step 2. Provision the token
- Launch the NFC burner app on your Android device and hit the "QR" button

- Point the camera to the QR code shown on the account page. Upon a successful QR scan, the camera window should disappear
- Turn on the token and touch it with your phone (make sure it is overlapped by the NFC antenna) and click "Connect" on the app
- Upon successful connection, click the "Burn seed" button (the button will become active only if NFC link is established).

- A message box similar to the one below will be shown upon successful completion

Follow the steps below to perform setting the seed for your token using Windows App.
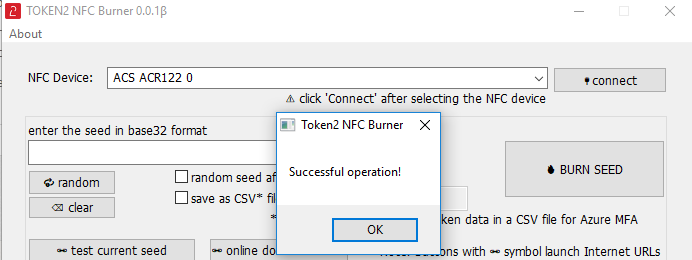
1. Launch the exe file, then select the NFC device from the drop-down list and click on "Connect". You should see a message box notifying about a successful operation.
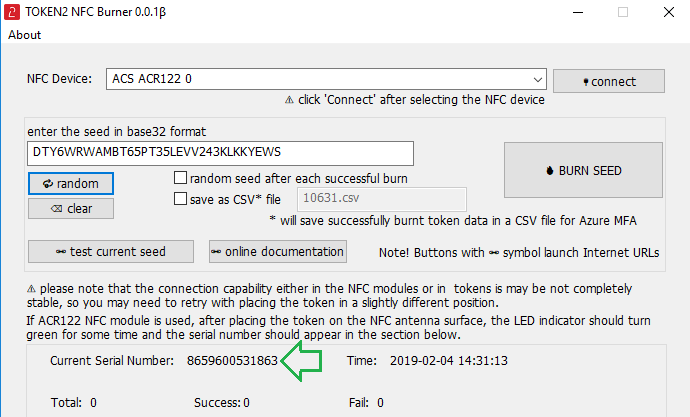
2. Enter or paste the seed in base32 format, or use one of the QR scanning methods to populate this field
3. Place the token onto the NFC module and wait for its serial number to appear.
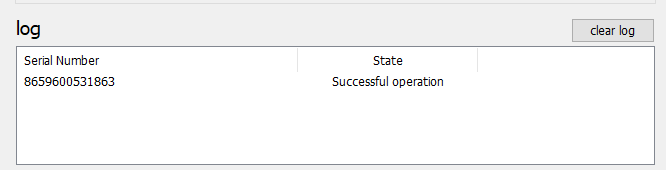
4. Click on "Burn seed" button. A log entry with the serial number and "Successful operation" text will be logged in the log window.
- Launch the NFC burner app on your iPhone device and hit the "scan QR" button
- Point the camera to the QR code shown on the account page. Upon a successful QR scan, the camera window should disappear and the seed field will be populated with the hex value of the seed. Touch the Burn button to continue.
- When an NFC prompt similar to the one below is shown, turn on the token and touch the top of your iPhone with the token.

- A message box similar to the one below will be shown upon successful completion
Please note that the procedures above are shown only as examples and are valid to single profile TOTP tokens only. The procedure for multi-profile and USB-programmable devices are similar but slightly different
Step 3. Verify the OTP
Once the token provisioning is complete, turn the token off and then back on. Paste the generated OTP into the field.
Your enrollment process is now complete. You can use this method to sign in to the applications and admin console.

When you try to log in to your admin console, new method called 'Passcode' will be available for use.
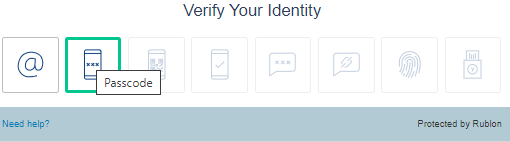
Select this method, enter the OTP from the token, and you will be signed in.
Enrollment for application
Please note that the steps above also apply to applications, except there is no need to use the 'Email Link' method. For example, a 'Windows Logon & RDP' type application with an assigned policy that allows the use of the Passcode method will enable you to log in to a Windows machine directly or via RDP. After entering your password, the MFA window will prompt you to enter the OTP, as shown below: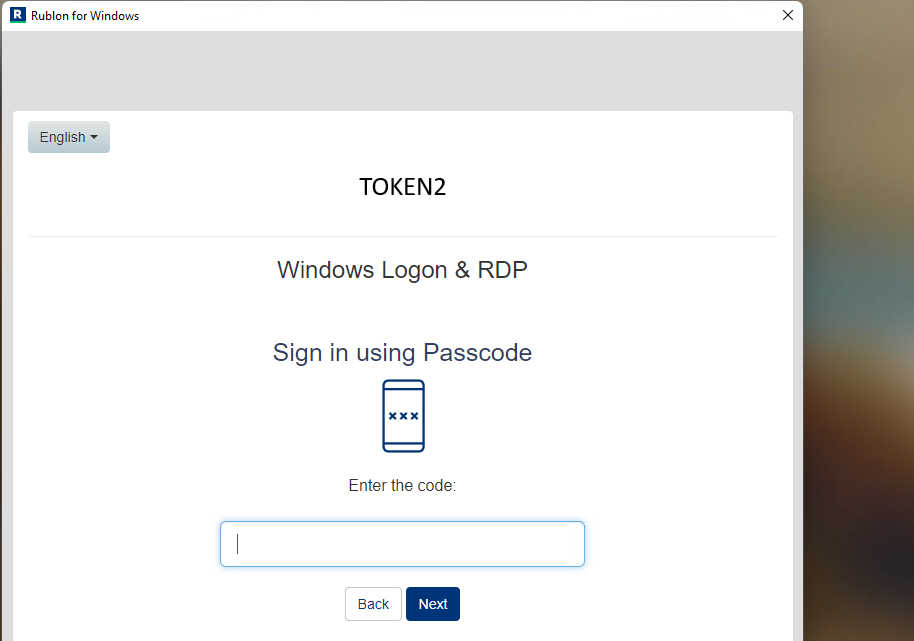
Subscribe to our mailing list
Want to keep up-to-date with the latest Token2 news, projects and events? Join our mailing list!